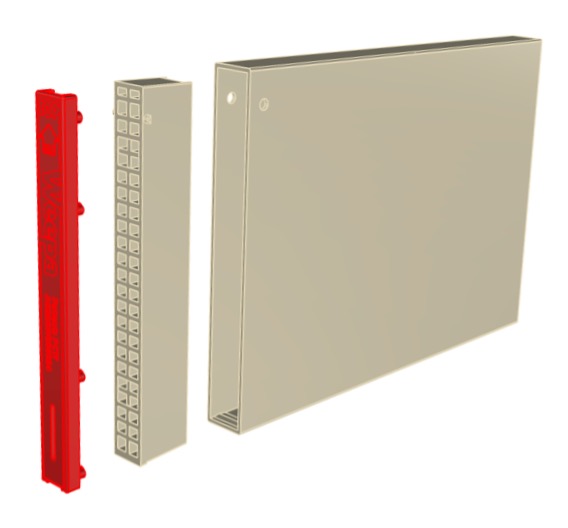
High Performance Bushfire Weepa
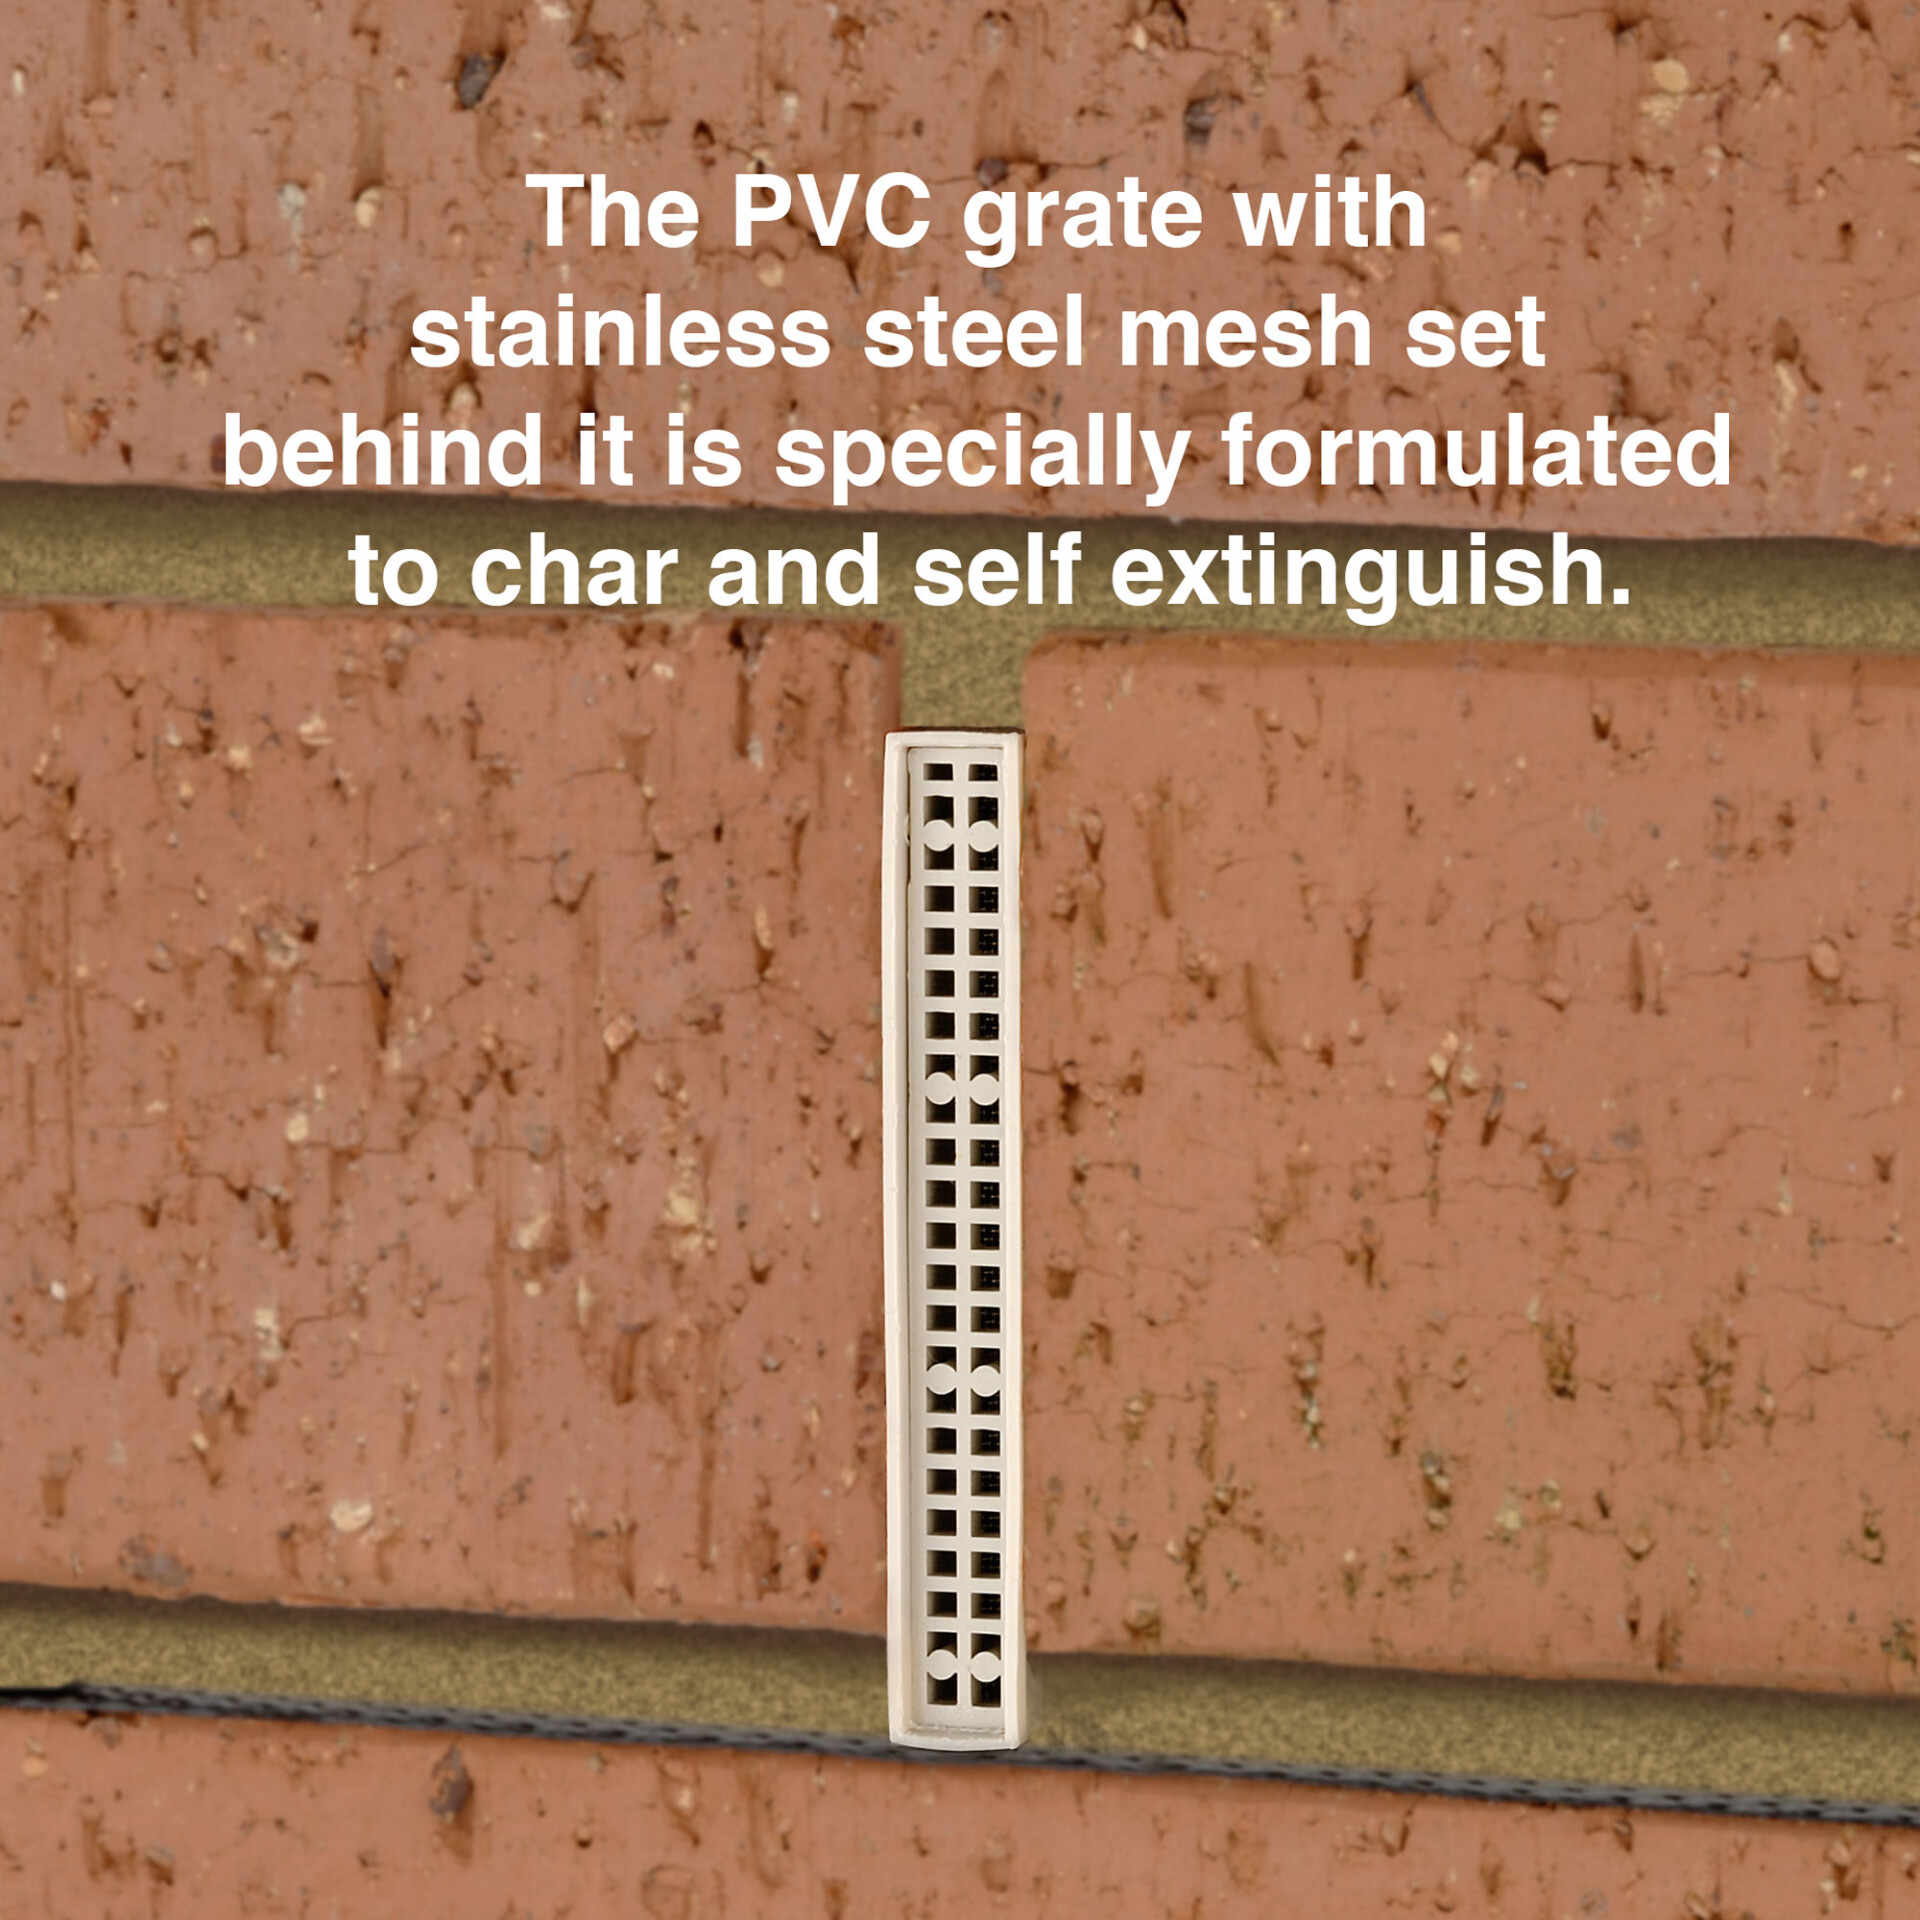
- A weep hole former containing stainless steel mesh and fire resistant polymer, designed to protect your home during a bushfire.
- When used in masonry construction it is compliant with Bushfire Attack Levels of AS3959:2018 BAL-LOW, BAL-A12.5 and BAL-A19.
- Installed by the bricklayer during construction.
- Suitable for face brick or rendered brick and block.
- The red mortar protector is removed after installation, leaving a clean and beautiful finish.
- Ensures ventilation and drainage of the cavity to reduce fungal decay and mildew.
- Excludes a wide range of pests.
- Product Code 11-HPBW
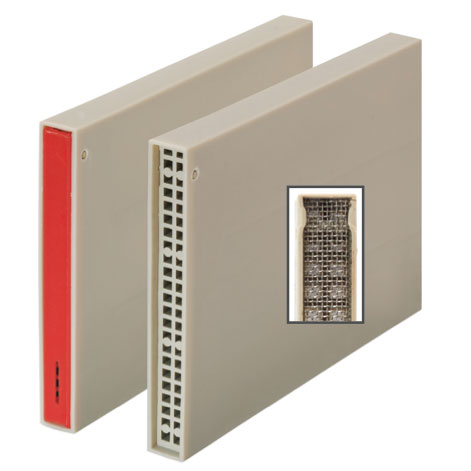
Bushfire Weepa showing the inset stainless steel mesh


Installation
Technical
BIM / CAD Model
At Weepa, we recognise BIM (Building Information Model) is the standard for digital design for many Designers and Specifiers.
We have developed a BIM range for all Weepa products in popular CAD (Computer Aided Design) formats including STEP, DXF and IGES formats.
Request a Weepa BIM model for any Weepa product to include in your design by completing the form below and we will email you a link to download your Weepa BIM model in your desired file format*.
* Please note - Weepa supports a range of popular CAD file formats. Please feel free to request a specific file format in the comment section of the form. We will work with you to support your design efforts as best as we can.